Since I was a kid and started to take electronics equipment apart, I have always been fascinated by LEDs – Light Emitting Diodes. The best thing was to find a front control panel from a VCR, stereo or similar with displays, buttons and a lot of LEDs in different colors and shapes. When I started to play around with embedded programming it was fun to try and make them light up in different patterns.
Later on I learned about using shift registers and dedicated LED driver chips for controlling color and patterns. Once I came across some LED tubes from a big LED screen. Each stack of 15 LEDS (5 Clusters of red+green+blue LEDs) was controlled by a MBI5025 16-channel controller through SPI. I never made anything useful out of them except for turning all the LEDs of the same color on so I could use them in a similar way as a simple RGB light strip.

ADAFRUIT NEOPIXEL LIBRARY
Later on the WS2812 was released around 2013. In the beginning it was a bit challenge to control because of the strict timing since it only had a single data pin and no clock. That changed when Adafruit introduced the NeoPixel product line together with the brilliant Überguide describing how to use the NeoPixel library. It can be used to control WS2812 (IC embedded inside LED), WS2811 (external driver IC) and SK6812 (RGB+white LED).
Other very useful Arduino libraries for NeoPixels is FastLED and WLED. WLED can be used together with an ESP32 as a webserver to control the setup and light patterns, it also integrates with Home Assistant. I have used WLED for another WS2812 project in the my garage. This will be described in a later post someday.
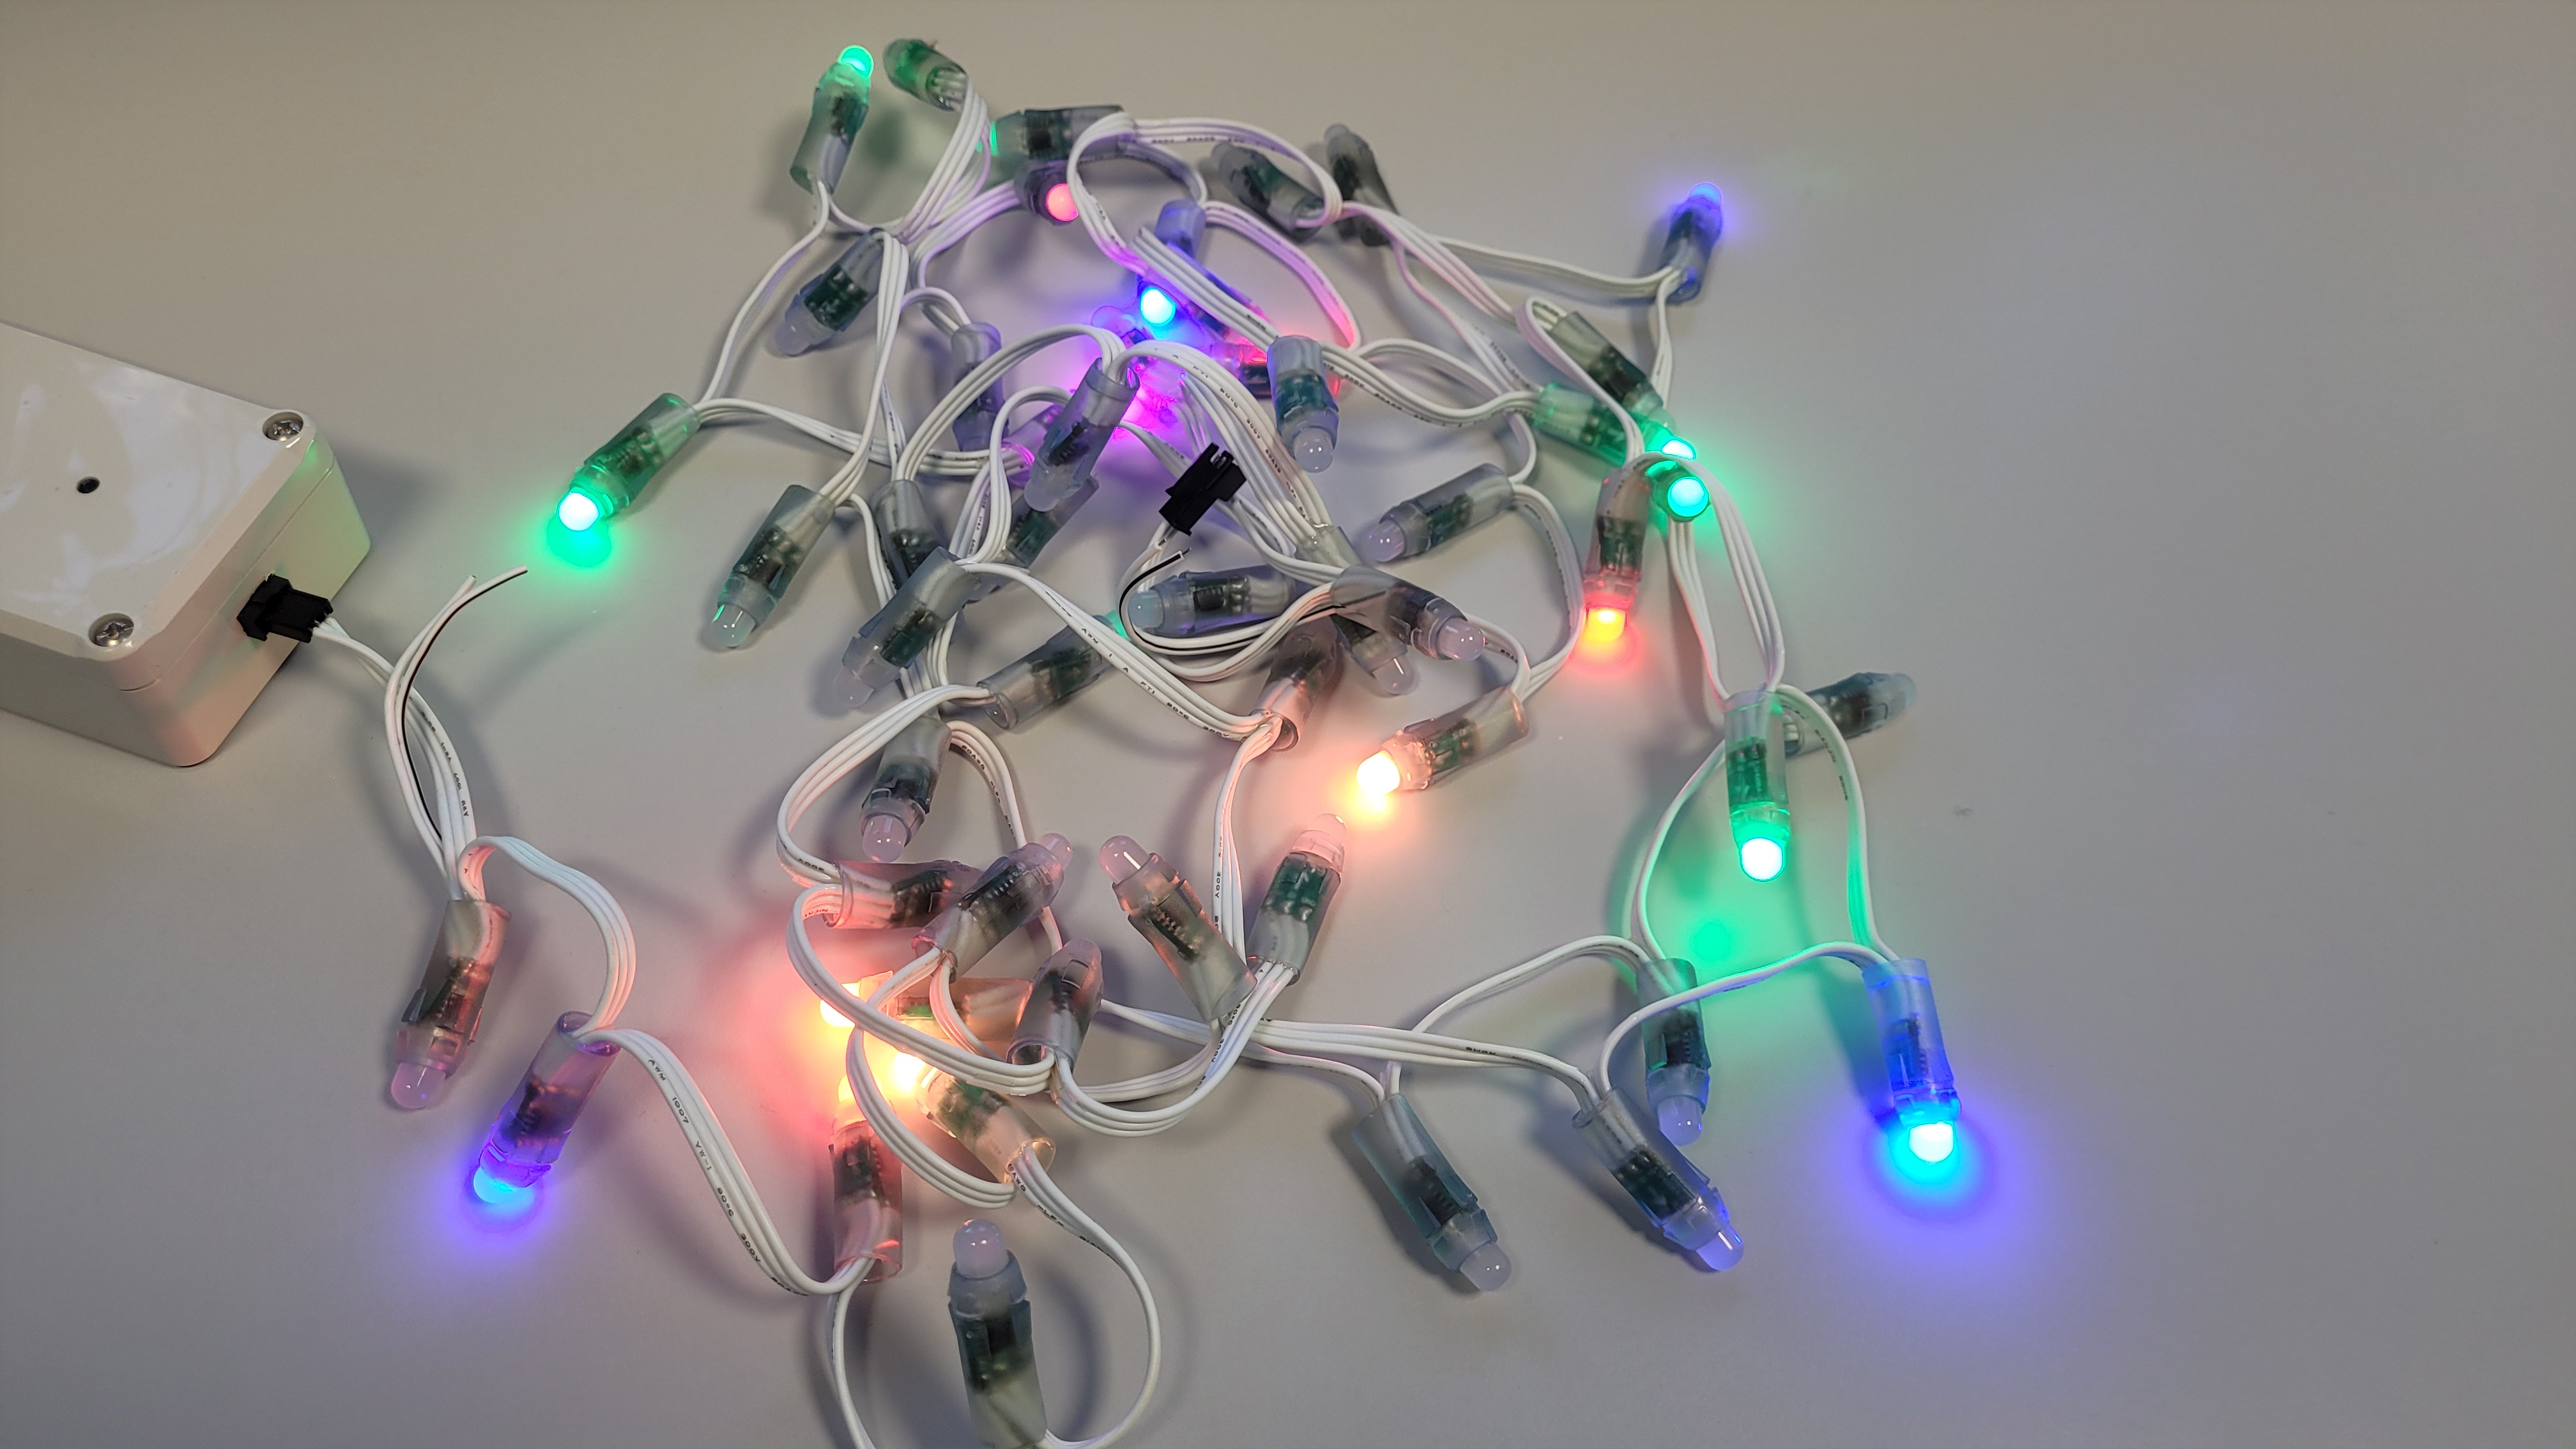
HOW IT WORKS
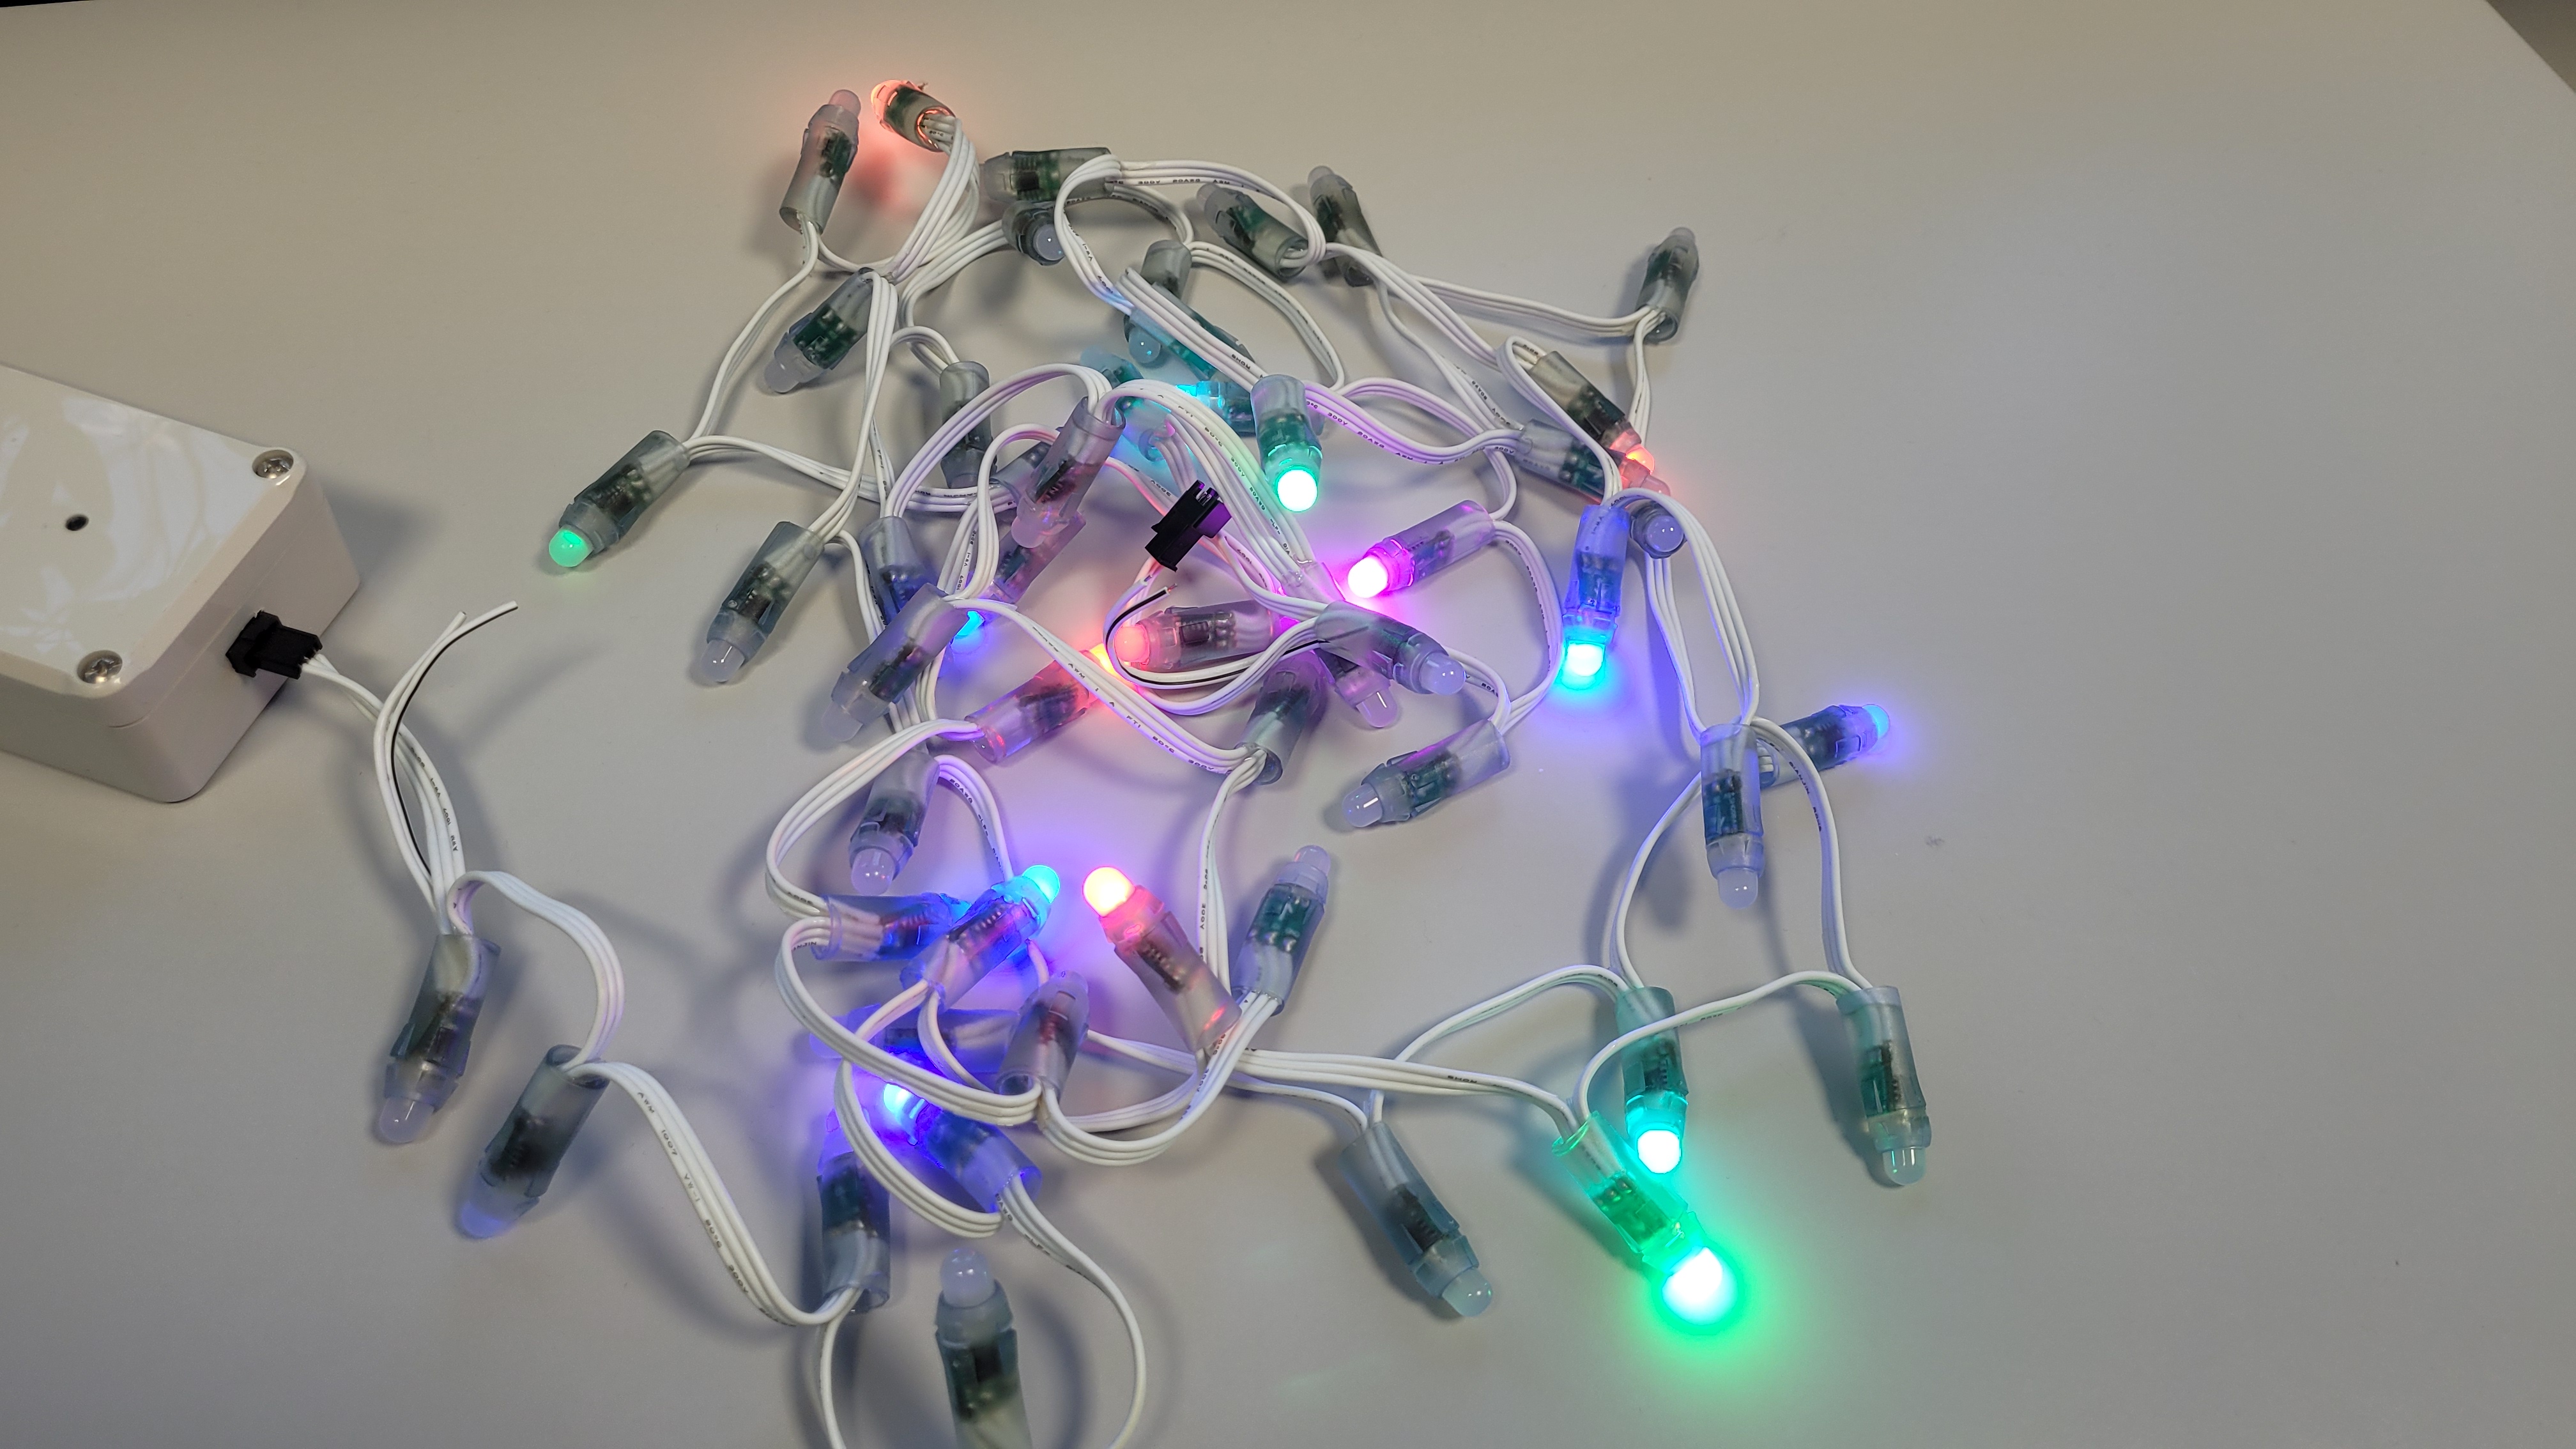
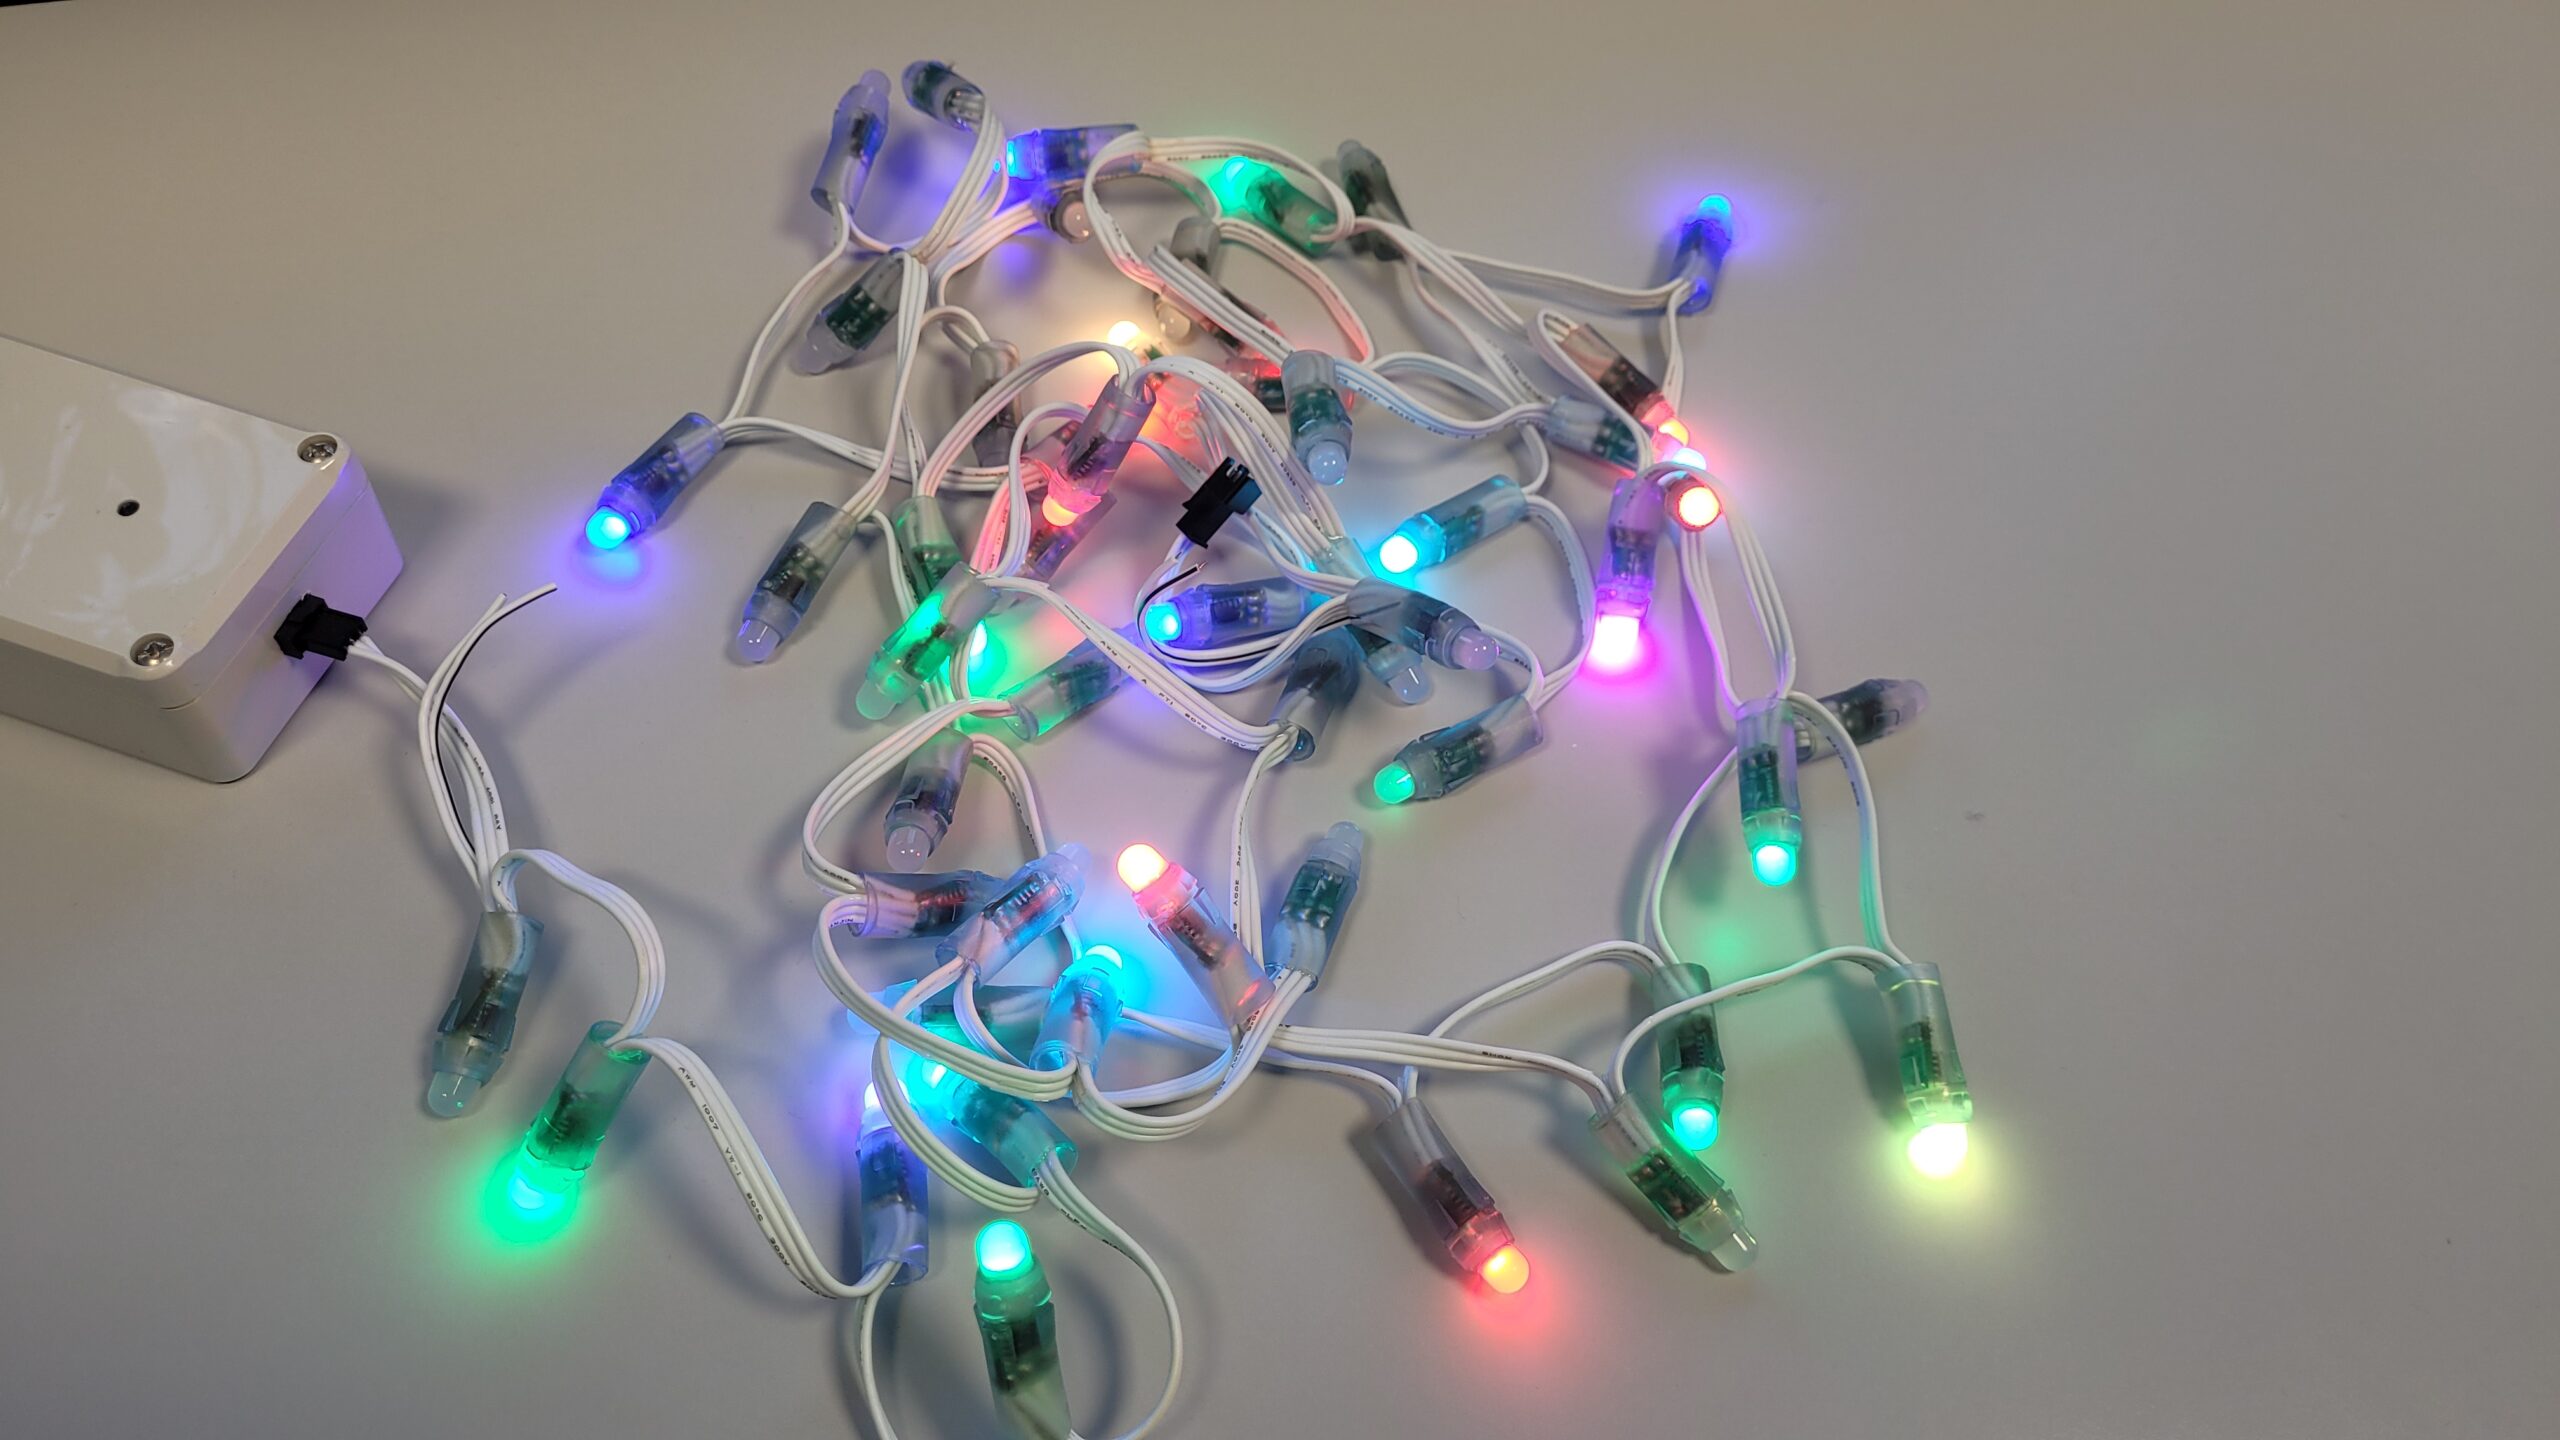
Back to this story… The reason why I started looking into making a LED strip with individually-addressable RGB color pixels was to decorate my daughters bed when she was a baby. I looked into different things and found this video by David Bick which I found interesting. David seems like a nice guy since he shared his code on GitHub.
His project was about making a jar of fireflies that would lit up when you move it, detected by an accelerometer. Since I wanted it to stay on when power is applied I removed the detection part.
The code has different control parameters than what I needed for my idea. I will briefly describe below, but I refer to the code for the full overview.
First the pin for controlling the NeoPixel is defined and the numbers of pixels of the complete string. MAX_GLOWING_PIXELS defines how many pixels will be lit at a random time ranging between only a single pixel up to the complete string. The three values I played around with most of the time was: hueCenter, hueRange and baseSpeed. The last value defines how fast a given pixel will lit up and fade out combined with a random part. To understand the two other variables a basic knowledge about the Hue color space is needed. hueCenter defines the center color and hueRange defines how far the colors spread out. This part was a bit trial and error to learn how it worked. In Davids code he wanted colors in the blue, turquoise and green area to mimique fireflies. If you wanted it to look more like fire you should change the base color the orange area and make it spread out from yellow to red. I just wanted it to show all colors so I picked a hueCenter in the middle (turquoise) with a wide spread (from red to red). When you play around with it you will understand.
After I found the values I found pleasant I made a small box for the Arduino Nano to control the light strip together with a 5V power supply to power the LEDs. Remember to read this part of the Überguide to understand how to specify the required power to your string.
It was used on by daughters bed for a couple of months but for the following Christmas is was brought to my workplace for decoration and is still in use right now.
VIDEO
The video below shows the changing pattern. Speed, color center and color range can be changed by reprogramming the Arduino.
WANT YOUR OWN
From the description and links in this post you should be able to build your own. But let me know I you want me to build a complete setup for you.
By changing the original Arduino Nano to an ESP32 it would be quite easy to have a webserver where you could change the relevant values for different string lengths and light patterns.