Description
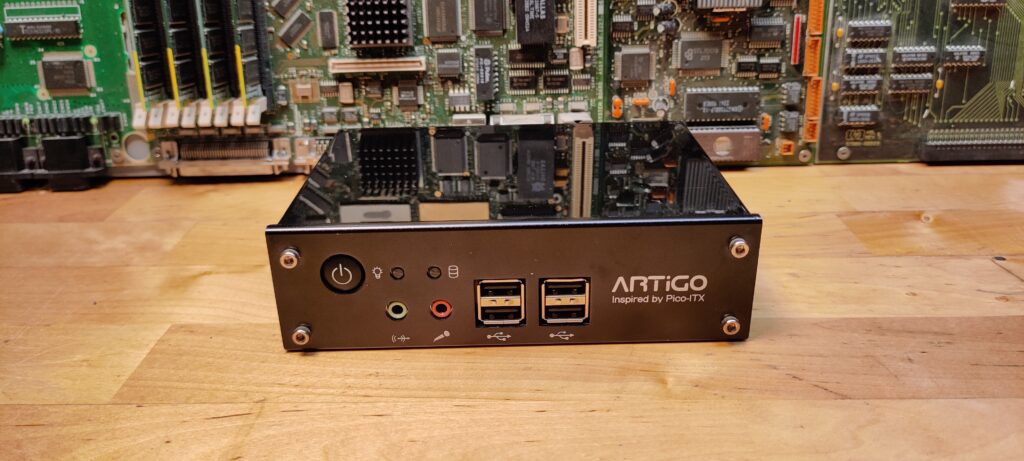
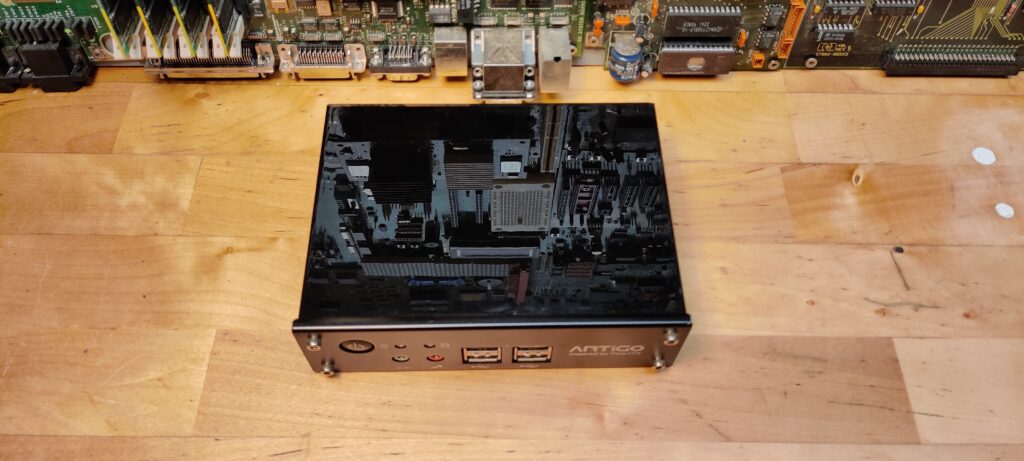
This special desktop computer was the first in the VIA Artigo series. It is based on the EPIA PX10000G Pico-ITX motherboard. RAM is mounted in a slot at the underside of the mainboard and the hard drive beneath that. It came as a builder kit without RAM, hard drive or operating system. It has an internal power distribution board converting the 12V to the different voltages needed for the motherboard.
Relevance
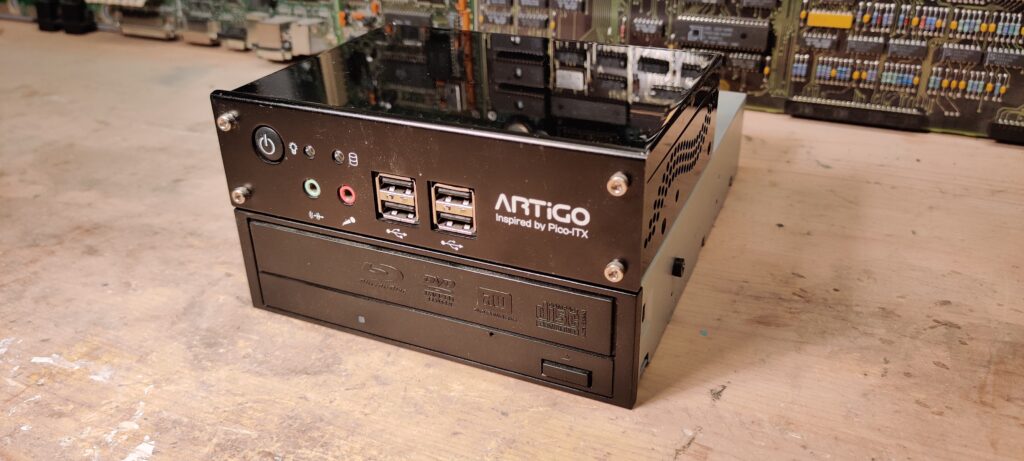
When the Artigo A1000 was released it was one of the smallest x86 desktop computers. The design is very attractive with the piano black finish and the fact that it can be mounted inside a regular desktop computer in one of the optical drive bays or as a car computer.
From a time before the Raspberry Pi and similar single board computers the idea about a computer this size was almost unimageable. It could be used as a regular desktop computer, a small media center or as the brain of a robot.
Gallery
Specifications
| Manufacturer | VIA Technologies Inc. |
| Model | Artigo A1000 |
| Form factor | Mini desktop computer |
| Released | 10/12 2007 |
| Price | US$300 |
| CPU | 1 GHz, VIA C7 |
| RAM | 1 GB, DDR2 SDRAM |
| Storage | 60 GB IDE 2.5″ HDD, SATA connector |
| Display | – |
| OS | Windows XP |
| Dimensions | 150 x 110 x 42 mm |
| Weight | 520 g |
| I/O ports | 4xUSB 2.0, Microphone, Line-out, VGA, RJ45 100MBit, |
| Power | DC 12 V, 5 A plug |
| Special features | The computer fits inside a 5.25″ optical drive bay Pico-ITX mainboard |
| Condition | Like new with a few scratches. Working |
| Accessories | – |
| Serial ID | – |
| To do | Reinstall Windows XP and maybe install it inside a regular desktop computer |
Purchase
I remember when the computer came out I really liked the design and form factor. Since I did not had a specific purpose for such a small computer I could not justify to buy it.
When I saw one for sale on DBA I had to buy it. The seller told me that it had been used as a remote computer for controlling some scientific measuring equipment. But since the support for Windows XP was ended the computer had to be upgraded.
Restoration and modification
When I got the computer it had a big sticker on top with logon information. On the underside was four big rubber feet. It was a hard job to remove all the glue especially bacause I didn’t want to scratch the surface.
After the cleaning of the enclosure was finished I disassembled the computer and cleaned the internal CPU fan from many years of dust.


